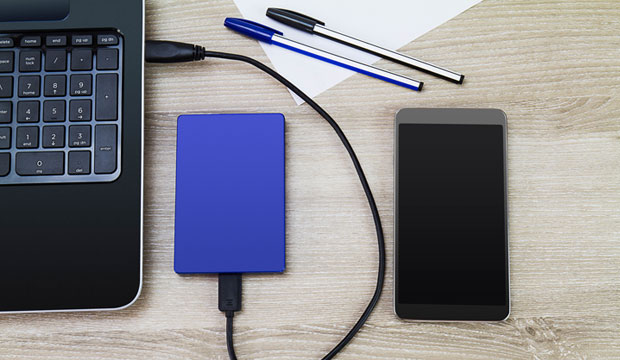
A recent incident reminded me of the importance of backing up one's phone regularly. Soon after carrying my recycling out to the curbside, I realized I had misplaced my 6-month-old iPhone. Cue brief panic, followed by deep concern that I'd somehow tossed my device into that transparent bag I'd left outside for the world to see.
That led me to yelling "Hey, Siri" a few times around my apartment until the familiar chime sounded, revealing my trusty phone was hiding on a stepladder underneath a coat. Phew.
I have no idea how or why I managed to leave my phone there, but had I not found it, the situation could have been much worse: It had been months since I'd backed up my data. I was lucky to escape what could have been a potential disaster caused by my absent-minded tendencies.
Save Main Drive Space
I bought my current laptop a little over a year ago and actually had some trouble managing backups at first. My partner and I use the same computer for backing up our phones, but with ever-increasing device storage capacities and solid-state hard drives still somewhat expensive, despite featuring in more and more systems, space is at a premium.
Apple demands a lot of storage for its backups, especially since it often stores multiple versions. A 256-GB hard drive to run one's system and keep data safe is just not enough anymore.
The thing is, Apple does not make it easy to sync backups to an external drive automatically. Typically, iPhone owners will plug in their devices, and Apple will create a directory on the main hard drive and stuff the backup there. That's easy, and it's probably enough for most people. Forcing iTunes to store the backup elsewhere requires a redirect trick.
Using Windows 10
Here's how I solved the problem on my Windows 10 machine. First, since I had the capacity on my current drive (but only just), I created an iPhone backup using the regular iTunes sync method to the default location, just in case any mishaps should occur. I went to the folder Apple uses to store backups, typically this one:
C:\Users\[Username]\AppData\Roaming\Apple Computer\MobileSync\Backup
You should replace [Username] with your own actual username, naturally.
You'll want to copy that folder to your desired new backup location, and then either delete the original Backup folder or rename it as "BackupOld." Then hold the shift key and click the right mouse button to open a command window. There, enter the following:
mklink /J "%APPDATA%\Apple Computer\MobileSync\Backup" "[External Drive]:\iTunes Backup"
Of course, you'll replace [External Drive] with your actual drive letter.
You can add subfolders here too if you like to keep your storage as organized as possible. So, something like this would work just fine:
E:\MyBackups\iTunes Backup
Then you can close the command prompt window, and try an iPhone backup to see if it works.
Using macOS
The steps are similar for Mac systems. You should find the standard backup folder here:
~/Library/Application Support/MobileSync/
Copy, then remove or rename the Backup folder. Then open a terminal and type this:
ln -s /Volumes/[External Drive]/MobileSync/Backup ~/Library/Application\ Support/MobileSync/Backup
Close the terminal and then try an iPhone backup to see if it works.
Better Safe Than Sorry
Even if you have a main hard drive large enough to handle your backups without any concern, shuttling your data to an external drive has its advantages. It can act as an off-system failsafe in case your computer's drive collapses beyond repair. It also frees up the main drive, which hopefully will keep your computer working snappily for a little longer.
In either case, please remember to back up your phone regularly. And maybe don't put yourself in a situation where you wonder for 15 minutes if you tossed it out with the recycling.
Source : www.technewsworld.com
Source : www.technewsworld.com

EmoticonEmoticon